Monday, May 21, 2018

Where have I been?


I have been up to a lot of quilty things, but not big finishes or blog entries last week.   I was in NYC over the weekend - as the picture above attests.   It was a gloomy day Friday BUT we were staying in the Garment District (I didn't do the planning - I swear!). I liked the view from the library and windows to the city beyond.  

There will definitely be more blogging this week, but I wanted to catch you up!  Mostly I have been planning.
ISLAND BATIK AMBASSADOR:
My May project was done early and June is designed.  I am figuring out how to piece it - not an easy task and not that hard.  I hope to test a block tomorrow! July is also in process, but I am going to try for one or two more designs before finalizing.

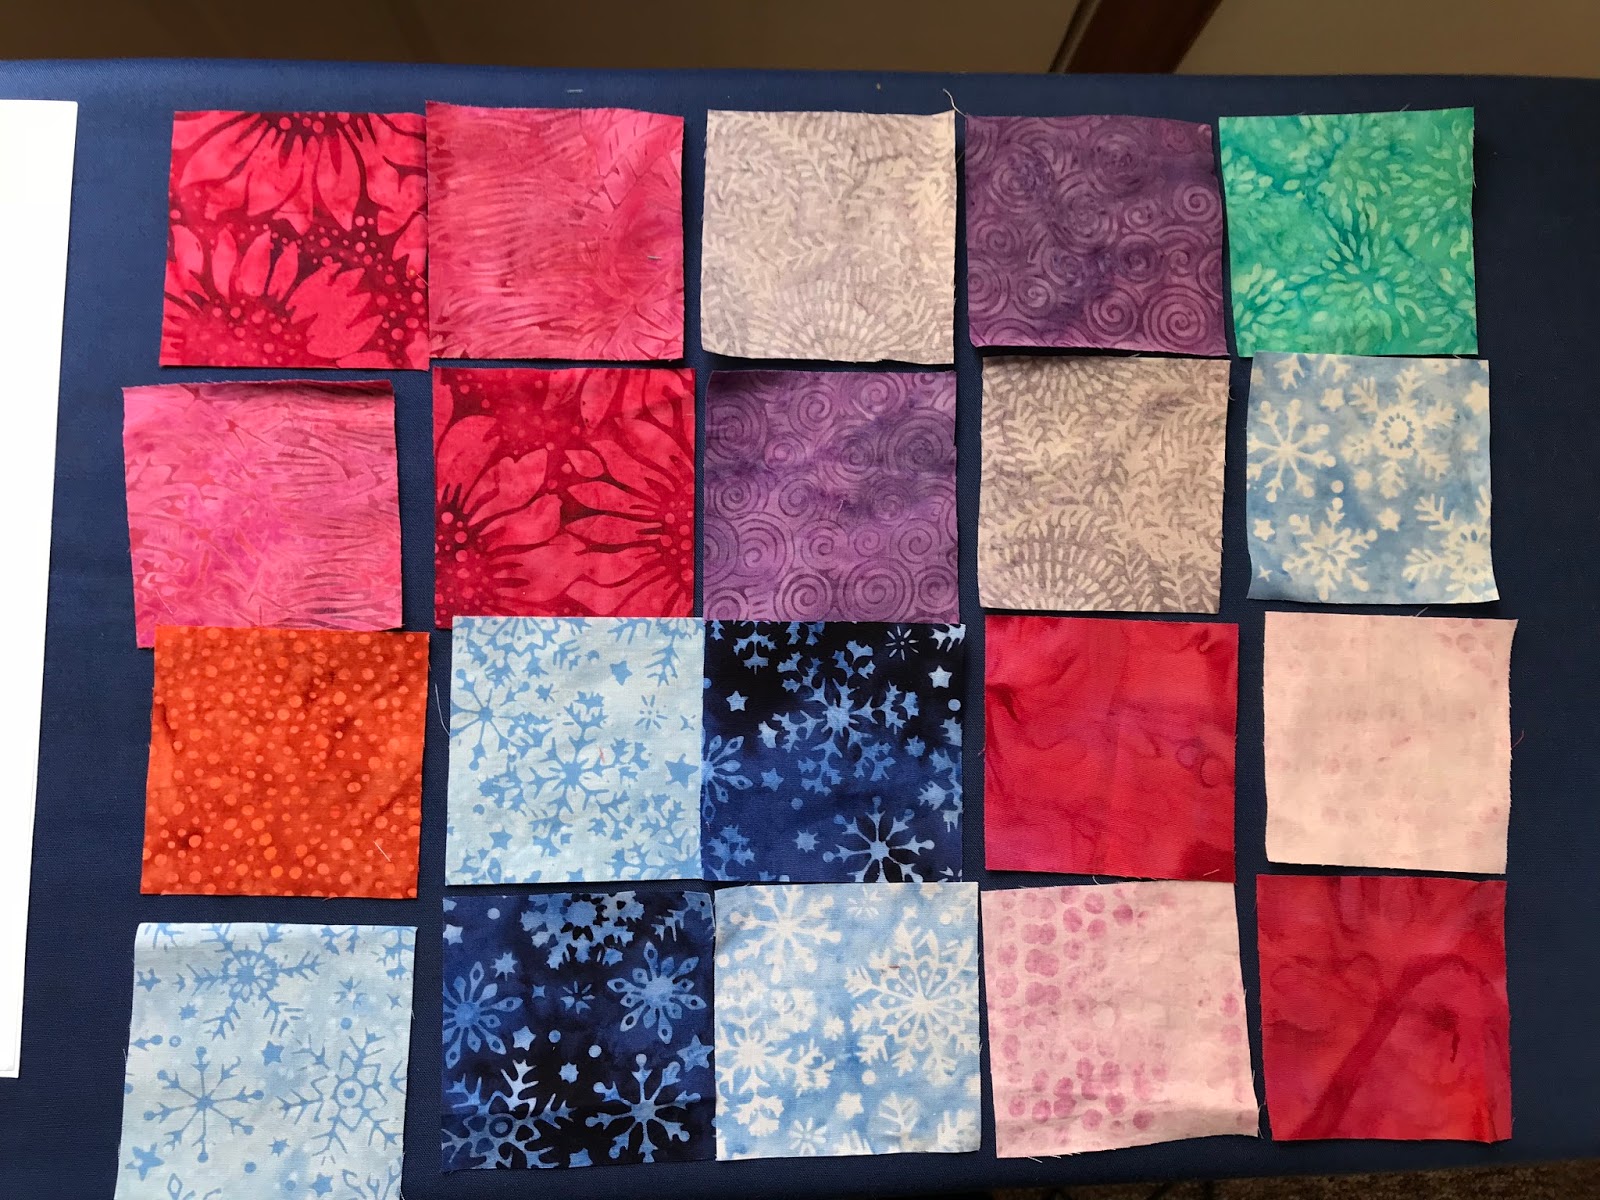
The for August we have what I feel like is a big project - 20 new fabrics - and I am working on a few ideas for it.  I am looking for a way to display all 20 and trying to decide whether the pieces I have can be background or whether I need more background.  

UFOs 
I have been working on two - my GFG (Grandmother’s flower garden) and an appliqué project.  The flower garden will be finished for May, the appliqué project in June.  The binding is on the GFG and nearly sewn down - hope to be done at the end of the week.


QALs
I am active in a 4 right now - Yikes!  Above is a fabric pull for Sandra's Playtime Plus QAL (#1)  It already began, but you could still catch up.  I also hopped on board with Tish's Adventures in Wonderland's QAL (#2)

FallintoaQAL(#3) is being brought to you by Partners in Design and it began on Tuesday, May 15.  Every two weeks a block is released and you will be able (if you like) to complete your quilt before the fall! You can join anytime and there are prizes for blocks and for finishes.
Wish Upon A Star(#4) began today.  Go to Just Let me Quilt to begin following all these great quilters.  I am up on the blog Friday!

Blocks for a Bee project
I have been working on blocks for a bee project. Two are done (see one of them above).  One is nearly finished.  These are from Made by Marney - she has so many patterns for different animals, all easily accessible with a click!  Also, the Labradoodle on her dog quilt is my Percy, see more here on my blog and on her blog.


NYC
I was with family for the weekend - a women only weekend away.   The real bonus was being in the Garment District.  They didn’t know what they were in for!  It was a rainy nasty day, but we persisted.

MOOD!  
Ok Project Runway fans - I was there!  I so loved it.  IT is a huge store with an immense amount of too-die-for-fabric.  I didn’t buy any but purchased a wonderful felted wool bag.  Do I need another bag?  There were a ton of Liberty fabrics, and if I had known, I would have planned on filling out my stash as I have a project in mind. 

Gotham Quilts! 
What a great store.  The added bonus was seeing this gorgeous quilt - Jennifer Strauser pieced and quilted it.  An added bonus was meeting Justin Keaton, a wonderful and talented quilter, who was filling in for some of the regular shop workers.  We are now following each other.
Such a great bad, and a few purchases!

***Side note:  explaining blogging/instagram/facebook to those who don’t do it is really difficult.  

You will see me later this week!  Promise.

Linking Up:  Main Crush Monday with Beth at Cooking Up Quilts.


Thursday, May 10, 2018

Orange Peel Pillow - 2 for 1 month


This fun project is a combination of work for 2 groups.  Island Batik provided the fabric and the International Association of Quilters gave me the pattern to work up as a project lead for this freebie for members.  

The challenge for Island Batik this month was to make a pillow.  I thought the project from IAQ was just perfect. First up - picking fabric.
First, I laid them out in what I thought was a pleasing order.
Per the instructions, I sewed background and "peekaboo" fabric together.  
Here is what the back looked like.  Then I decided to add another row, in order to make a square pillow.
I auditioned a few of my scraps, and then added the rows like I did before.  My fabric choices were dictated by which Island Batik fabrics I already used and had some scraps.  This is my first year as an ambassador, so I am being a bit conservative with my larger pieces until I have a sense of what I will need through July.  
 Mark the orange peel, lightly, on the fabric.  I am partial to Sewline pencils, but whatever you do, use a light touch.  You can see the marked orange peels on the assembled quilt.  I cut on the line - so no remnants are left behind.  Remember:  what you see is what you get!

WHEN MARKING THE ORANGE PEELS:
Think about seams and quilting through them later - give yourself 1/4" near the seams to save you some difficulty in quilting later.
The orange peels
With the centers removed
I make a tiny slit first, cutting very carefully the slit in the center of the top fabric.  Then I cut towards the side and around, which will reveal the orange peels.  Trim nicely, as these edges don't get turned under.  Some reverse appliqué does, but this pattern did not call for that.

The next step is to layer with batting and a backing, I used safety pins to hold it together because I was hand quilting.   Since mine was going to be a pillow I didn't worry too much about the fabric I used in the back.  I quilted with a variegated 12w thread from Valdani.  I tried to get my stitches more even on the front than on the back, again knowing this was going to be a pillow.  

HINT:  use a needle that can be threaded with the weight thread you will use AND can easily go through your layers.  I had to try a few until I found one I liked (remember batiks are a little harder to quilt but the right needle helps).


I then picked a binding.  I needed 48 inches so I needed more than one strip - so I used the reverse of a Christmas batik in red, as I liked it the best.  Sometimes there are two sides to a batik, and sometimes you need to use the back side

I decided to use the envelope method, so I first cut two pieces that were about 12.5" x 15".  I turned one edge on each down, pieces now measuring about 10".  I then top stitch along each edge.  Sandwich on and sew on the binding to the front.  Hand sew to the back.

HINT #1:  I like bigger pieces so "the belly" of the pillow doesn't peek out!

HINT #2:  Backing and Binding are sewn together.  WRONG sides together for front and back.  The binding is attached to front and turned to back (like most quilts).

A simple pillow insert was made with poly fiberfill.  I measured the pillow from the back and made the insert that size (2 pieces cut 12" square).  Sew up on three sides.  Stuff and test the insert in your pillow, add more fill or not, close up the insert!  Stuff it into the pillow and you are done!

Voila - your pillow is done!


Tuesday, May 8, 2018

X Block Blog Hop - Venetian Tiles


Disclosure:  *items are affiliate links 
 If you purchase from that link,  it does not affect your price,
I earn a  small commission to help defray the costs of blogging.

Today I am thrilled to be a member of the X-Block Hop (and there is a giveaway!). I found out about this hop from Amy at Sew Incredibly Crazy  A friend of hers, Doris Rice, is the new owner of the X-block and so, to help her friend, a blog hop was born.  I was excited to join as I did have a lovely quilt that I made using that technique.


 I love the X-block tool and the intricate designs you can make by trimming a 9 patch.  Yup - that's the basic gist of it.  First you make a lot of nine patches, then you cut them up.  Sometimes that feels wasteful, but here's the thing - you are not piecing wonky angles BUT buy cutting a block differently you get the effect of the odd angles. 

I loved, loved, loved this pattern.  I thought it would be perfect to use up some batiks I had collected.  The ones I was using up were the more solid/light fabrics in the quilt.  I had collected them for my Whitby Abby quilt - it appears in the beginning of my blog, but I actually never wrote an entire blog on it. You can even see some of these batiks in the link above, in the second picture.  
These are the two tools I used, the 6.5" X block template* and the BellyButton 6.5*.  I think the way the colors play off of one another and that the design is so interesting.  I was looking for a colorful sky so all these light batiks have blues and some pinks in them.  It is such a cheery quilt and  perfect for a summer quilt.  The guest room in our cottage is dark and it really livens up the room.
Here are a couple of hints for making this quilt:
  • Starch your fabric (bias edges behave better when starched)
  • Pay attention to the directions (I know - simple but true!  there are Right and Left facing cuts)
    right facing block
    left facing block
    Teal square shows the Right Block, Orange is Left Block and
    Dotted Line Square shows 4 blocks making the diamond.

The pieces for the sides and top are made from some leftovers, if I remember correctly.  They were totally worth doing.  I wanted to use this on a queen size bed, so a few borders and it works!   Notice,  the top and bottom borders are smaller so it will fit my platform beds easily.   Finally, I quilted this on a longarm and loved doing it.
Hanging at the Rising Star Guild Show
Enjoy the hop and check out the other bloggers that are hopping!

May 8th

May 9th

May 10th


Look at this X-treme XBlocks Bundle!!!


a Rafflecopter giveaway


Disclosure:  *are affiliate links 
 If you purchase from that link,  I will earn a small commission.


Sunday, May 6, 2018

One Monthly Goal - Rescued GFG


My one monthly goal is to do the binding on this grandmother’s flower garden.  

It is not from my family and the family that gave it to me doesn’t know who did it and kept a few other quilts that were completed, but didn’t want this one.  So I call it my rescue GFG - have to come up with a better name.  It will either go for a church benefit or a donation (maybe to a family getting resettled - either refuggee or homeless)....
It is quilted.  The binding needs to be cut, sewn together and applied.  Application will mean cutting off some of the edges; more on why I feel thats okay later.  

Friday, May 4, 2018

Busy times and a few things that are coming up!


This is my Island Batik Pillow for May, and an IAQ (International Association of Quilters) Project.  I will help folks find their way through this pattern with a few suggestions.  It is all done, but I haven't blogged about it yet.


These are my fabric pulls for Sandra @mmquilts.com Adult Plus Playtime QAL.    I couldn't resist as I had so much fun with hers last year - also another shadow quilt and I might be the Kathleen in her blog that called the Shadow Quilter....only the shadow knows!  I like both the blue or green for the background - although black looked good too..... 


I finished the napkins for the table in Maine. Wanted something more in keeping with the color of the placemats I made on our quilting weekend.  
Some of my friends also have me pulling fabric for Tish in Wonderland's QAL.  I think it is relaxed enough that I might get it done.  It will use up stash, so that's a good thing.  Still working on it, but here are a few options. 
I am hosting on May 10th for the X-Block Blog Hop.  I made a quilt that I love a bit ago and am thrilled to share it during this hop.  You can see who else is blogging by clicking on the image.

Carol at Just Let Me Quilt has organized a Star Blog Hop later in the month.  I'm on for  May 25th (and entertaining friends) so I'll be catching up in the between times!

I am doing the binding on this gem!  I rescued this and had it quilted.   I am "straigtening the edges" so it can be bound.  Binding is halfway on...more work tomorrow on it.  It is not the way you would preserve an heirloom, but I'll explain my approach later.

So there has been lots of prep, and very little time to blog the past few days.  Hoping to get a few more entries out over the weekend and early next week.

Happy Friday!