Showing posts with label technique. Show all posts

Tuesday, April 24, 2018

Looking Back...A New Carpenter Star from a Vintage Quilt

The Island Batik Ambassador Challenge (Island Batik provided the fabrics) was to "be inspired by a quilt, design or block from the past when designing and/or creating a new piece."

What to do?  What to do?   I so love vintage quilts and there are so many ways to make them new.  I have been wanting to try Beth Helfler’s accordion triangle technique, so when I saw the Mennonite Broken Star I couldn’t resist and thought a new technique would make this so much fun.
Menononite Broken Star c. 1890 Mrs. Myers
I have lots of books on historical quilts.  This picture came from Vintage Quilts:  Collecting, Dating, Preserving....  by Gerald E. Roy, Sharon Newman and Bobbie Aug.  I had the privilege of taking a class with Sharon Newman many years ago, and this brought back fond memories.  As the book says:  Seven of these quilts are thought to exist, one made for each of the maker's seven children, three are known to exist and are in private collection..."(page 71).
The block is also known by a few other names:  Broken Star, Carpenter Star, Carpenter Wheel and Swoon.  Swoon is a favorite among many quilters - I did a quilt in French fabrics a few years ago using Swoon.  I do have a love affair with stars of many varieties.  This one keeps reappearing in new ways.
I began by selecting fabrics.  Part of the challenge is being sure to have enough fabrics to finish a project - always interesting - and it always is fun.  I had just enough of this grouping:  Small Pointed Floral in turquoise and Bubbles in Salmon would be pieced with a lovely neutral called Rice.

So what is this technique.  Well, it is genius!  Beth Helfter of Eva Paige Quilt Designs calls it Accordion Sewn HST™(Half Square Triangle).  She has videos on YouTube that show you the technique and a book coming out on it very soon.  You sew half square triangles into what Beth calls and accordion.  It is much more fun than the ordinary half square approach.  
I followed her pattern,  but true to form, made mine a bit differently. The inner star was easy, following her pattern.  The outside star was a little more difficult - because of my changes not hers - but I persisted.  Also, I did not have enough fabric to do a third ring of star points or a third border. I simply needed the right count of each pair of fabrics to get it done.  
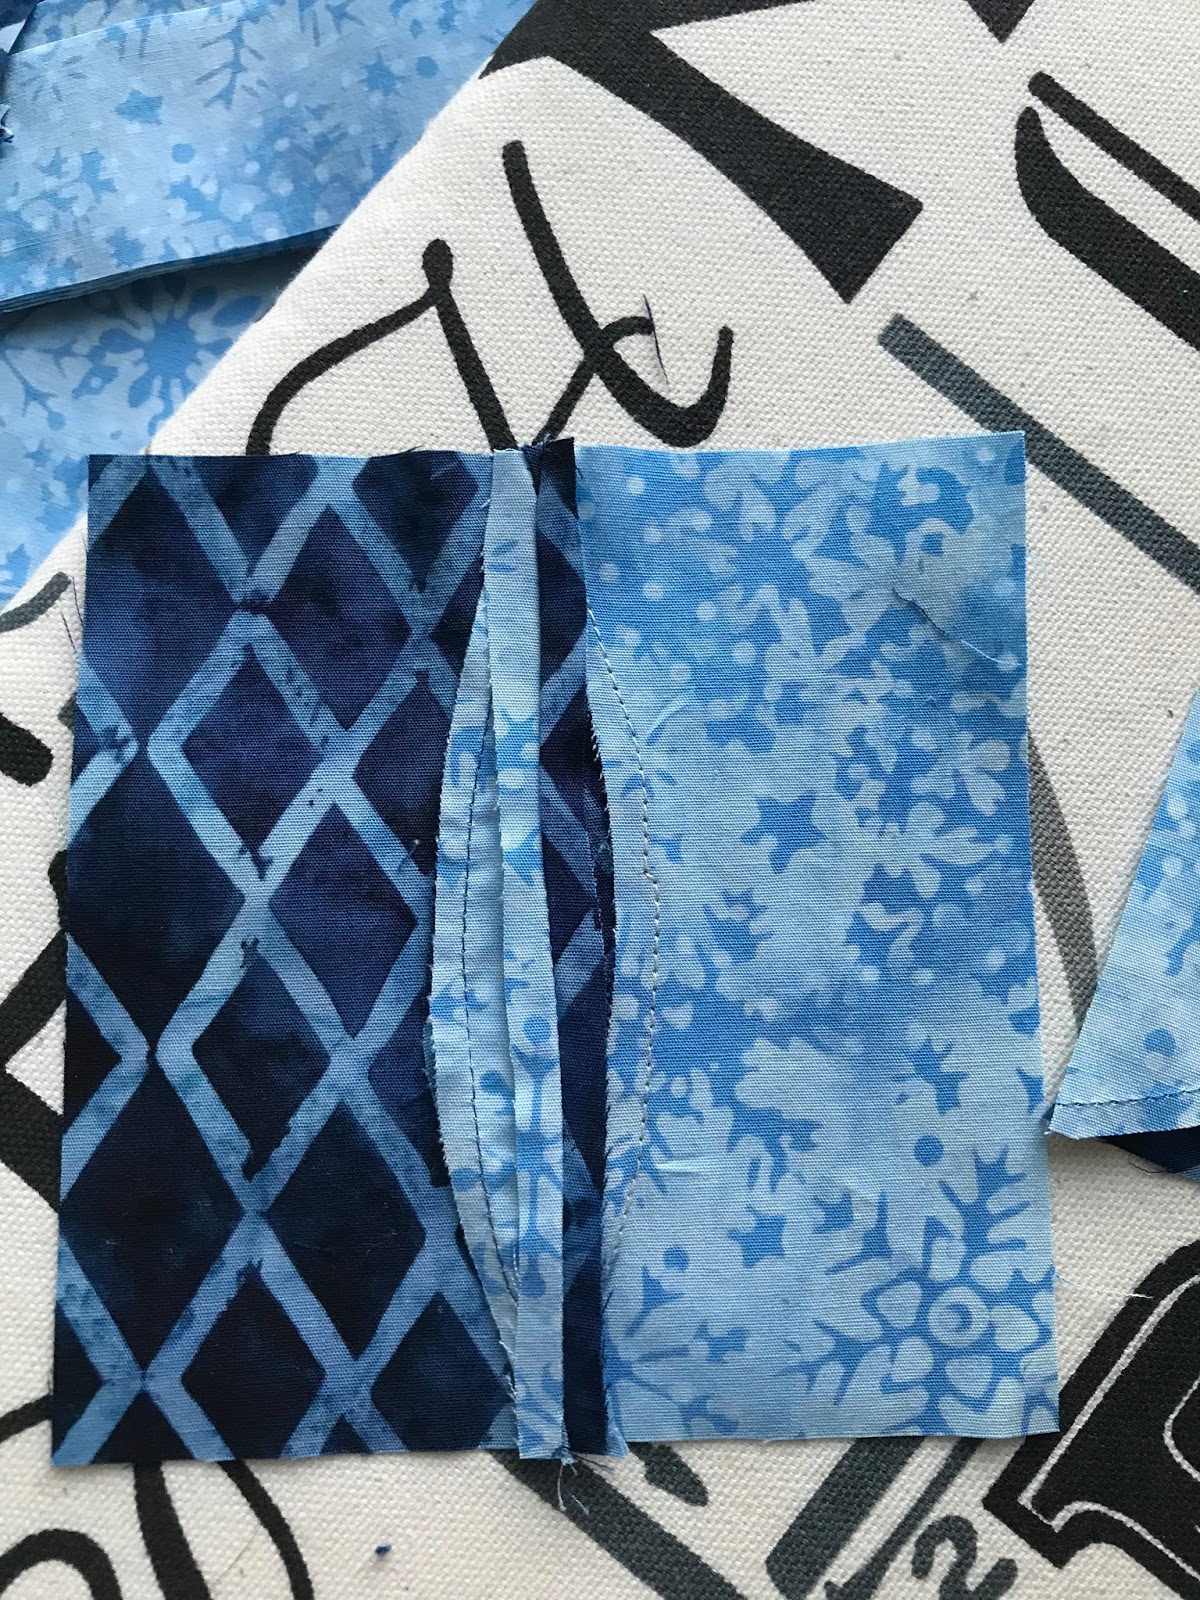
Here is a group of squares sewn together.  

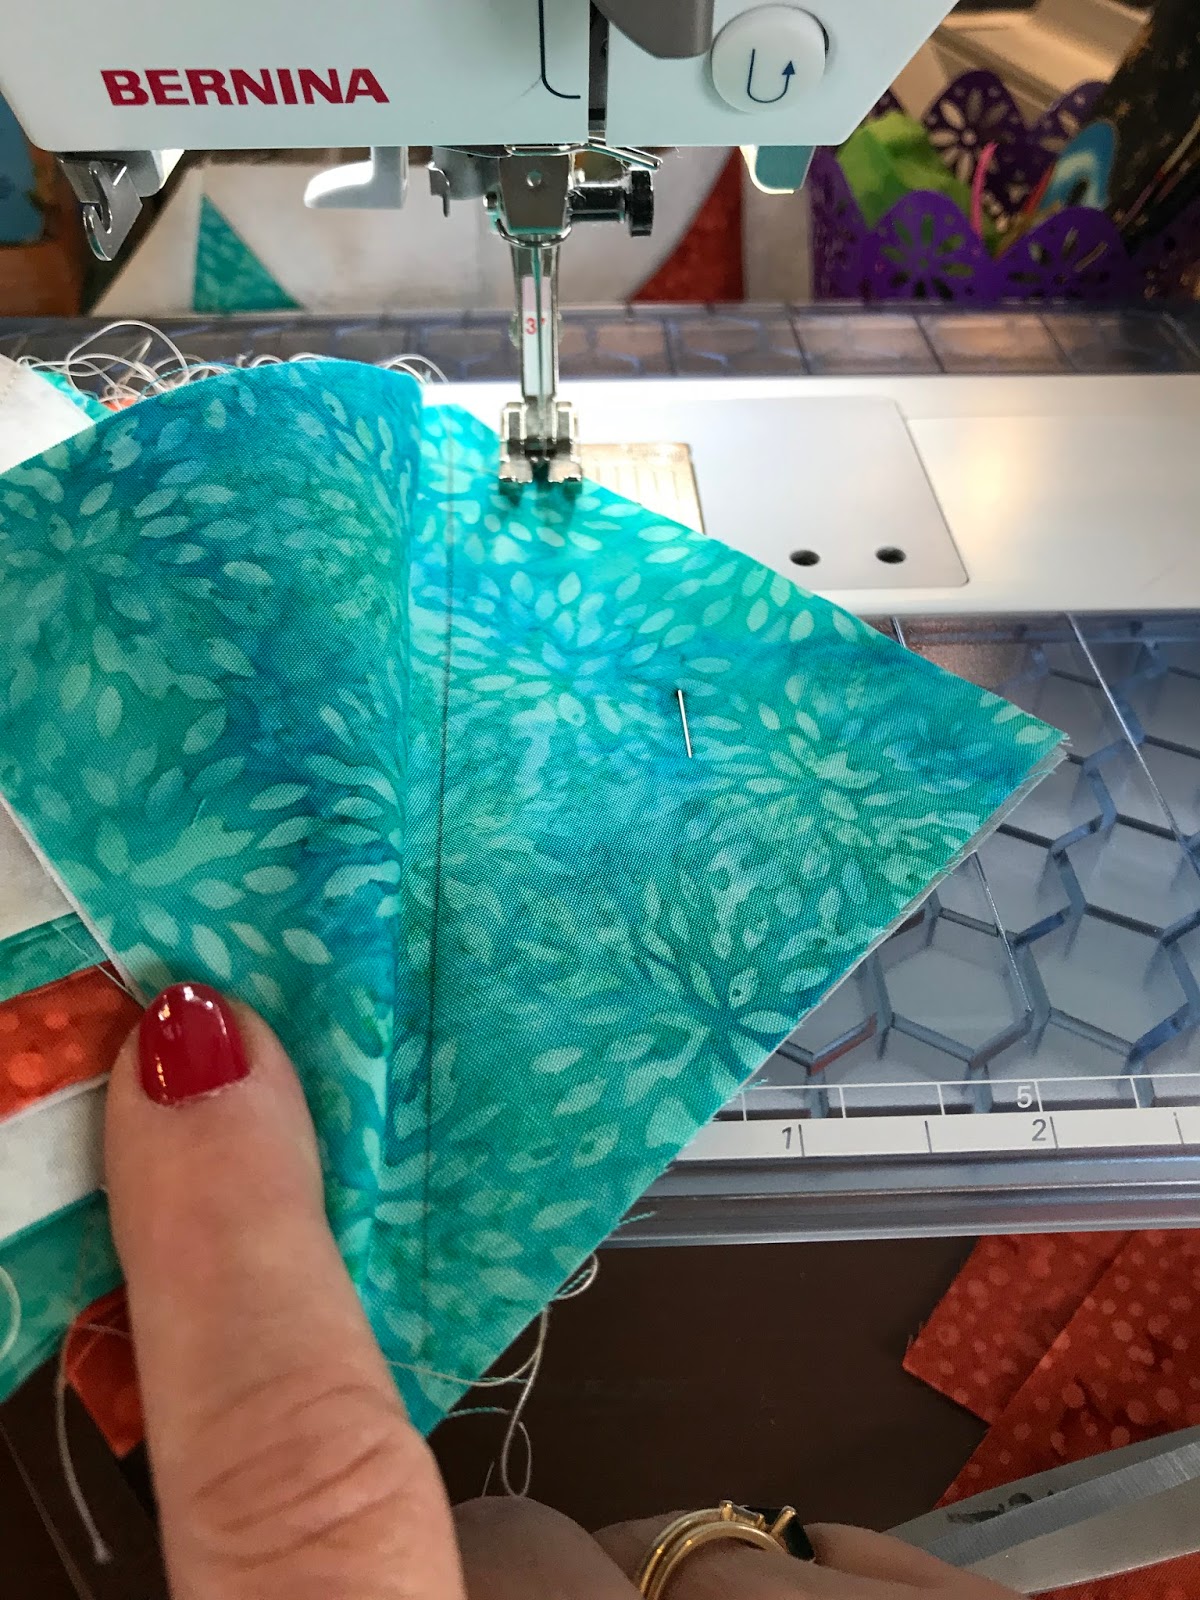
The picture on the left is getting ready to sew the front and back piece together.  After this you trim, press and sew the HSTs together.  Beth recommends the Clearly Perfect Slotted Trimmer and Clearly Perfect Angles to make your work easier (affiliate links).  I didn't use these tools, but I have them now and will review in another blog entry.
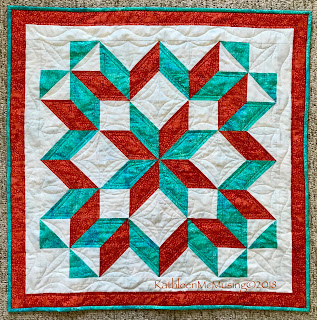
The top was completed on my guild's retreat weekend.  Here is is hanging above the quilters - among the group of finished tops.  Quilting wasn't in the cards for the weekend.


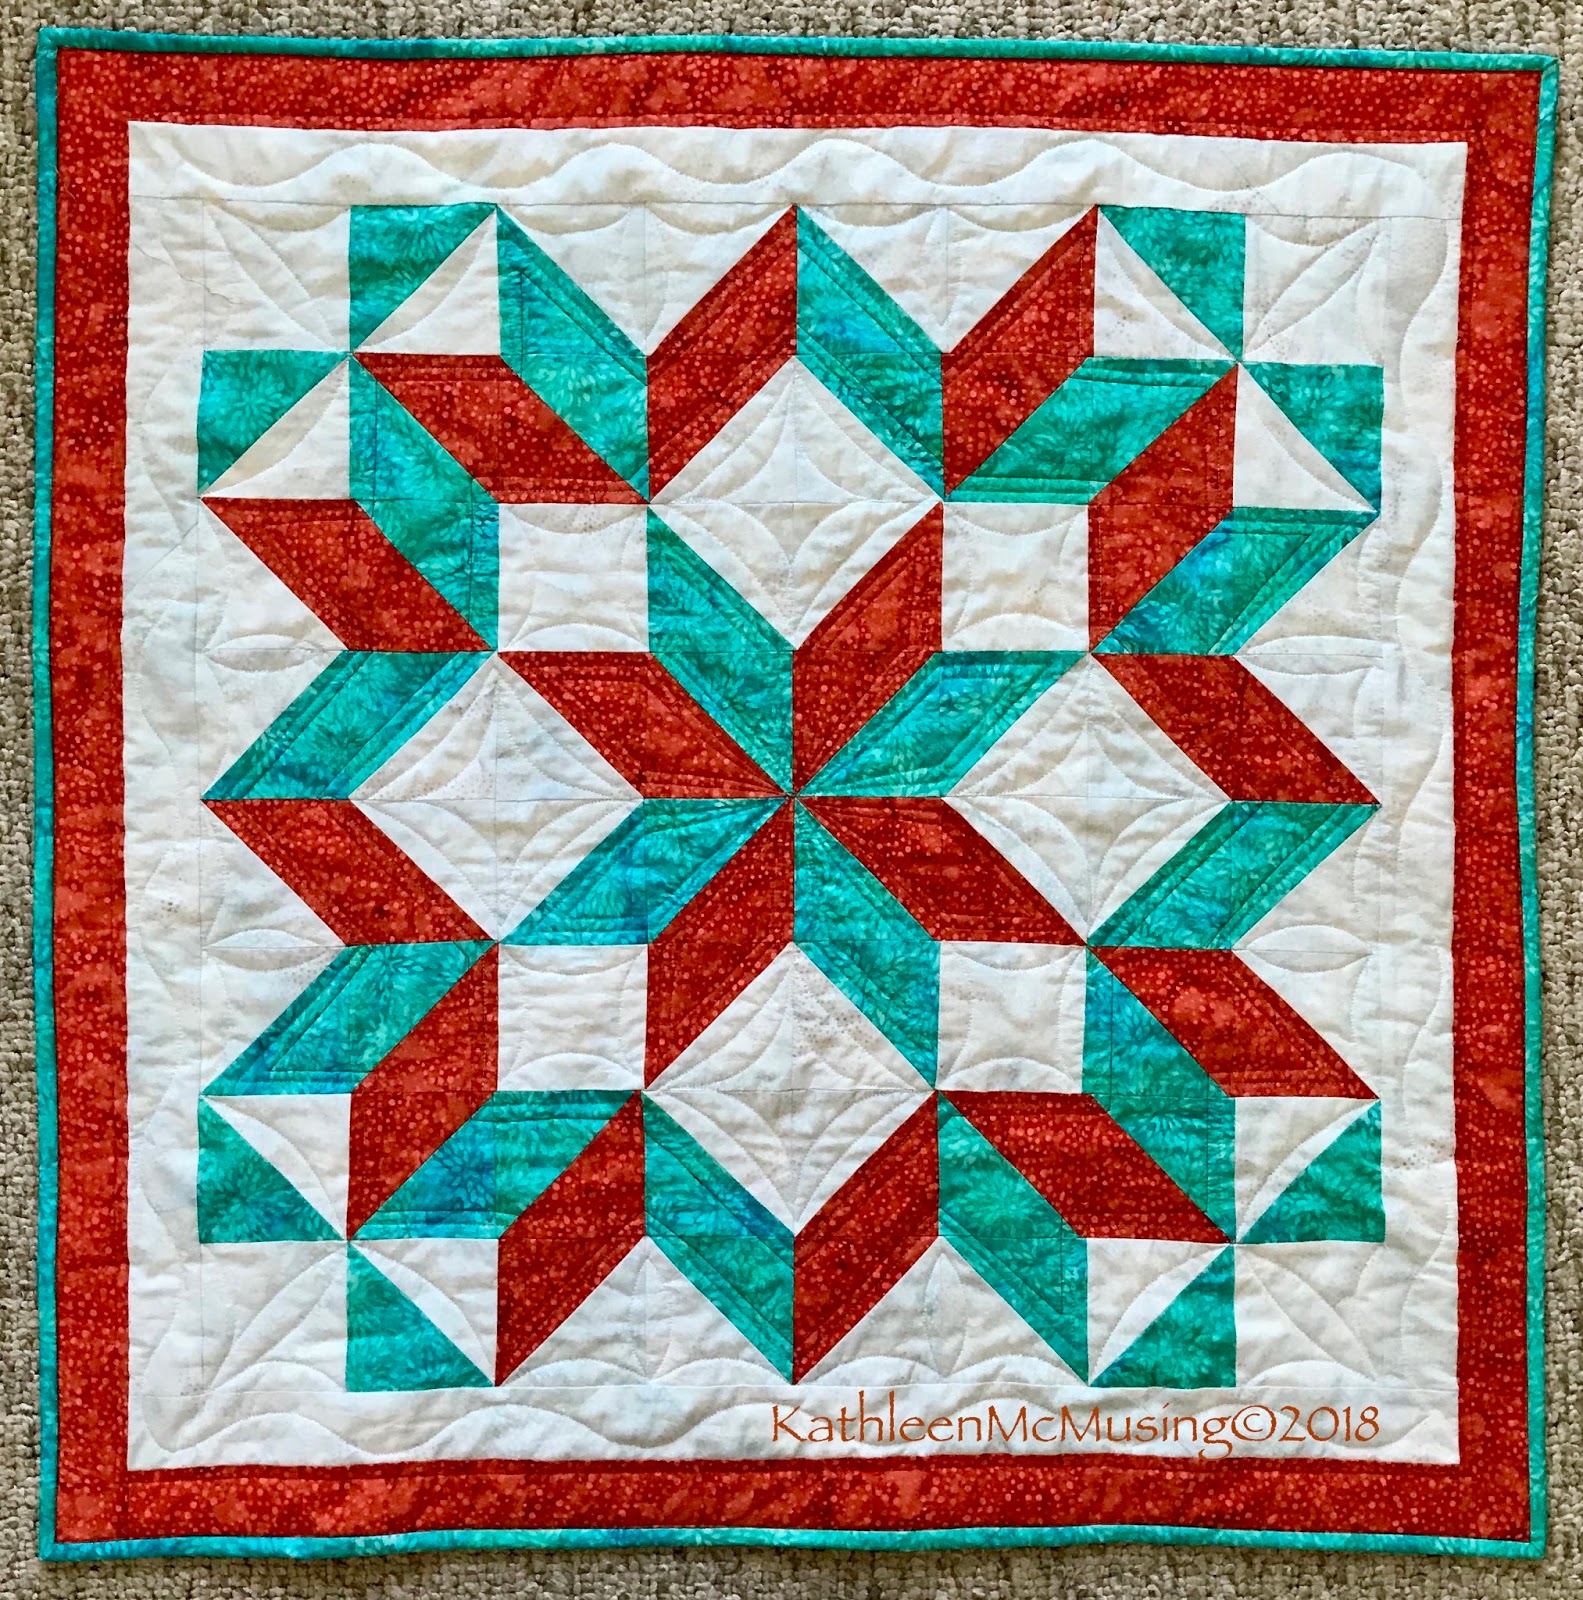
My next great dilemma was how to quilt the Carpenter Star.  I decided to use Westalee rulers again on my Bernina 440 and I am very happy with the results!  I decided to stay with a more traditional quilting, that is, not as dense as modern quilting to reflect the traditional nature of the block. 

Our Island Batik box also included Aurifil thread and I pieced quilted this quilt with 50 wt. Aurifil 2024 white, 1148 light jade and 2350 copper.  I love the color combination and the finished quilt.


I loved the challenge of the making something old in a new way and this new technique takes half square triangles to a new height!  I highly recommend checking out Beth's technique, you won't be disappointed.

And, this finishes my first project for the second quarter FinishAlong; you can see my goals here.

Thank you Island Batik and Aurifil for providing the great materials to work on and another interesting challenge.


Linking up:  Linky Tuesday
                     Finish It Up Friday
                     2018FALQ2


Friday, March 23, 2018

Island Batik: Try A Technique

Island Batik Ambassadors were asked this month to try a technique.  It didn't have to be a particular size or use a particular line - so the sky was the limit (the fabrics were provided by Island Batik).   I have been quilting a long time, and worked in a quilt store, so I have tried a lot of techniques.  What to do???
In April, while I was still working at Cambridge Quilts, Linda Warren stopped by with her ruler and some patterns.  While I couldn't make a decision for the store to buy it, I liked it enough to by one for me.  The ruler is not very large - pieces will finish either 2" or 4".  The pattern I chose would make a 12" block.  There wasn't a lot of fabric, so I had to be careful
 So, here it is - my new technique is using the ruler called "The Learning Curve".  This ruler is quite fun.  You can get wonderful circles and create wavy borders.  You can find her patterns and her ruler at Linda Warren Designs and also follow her on facebook.
The first order of business was this test block.  I loved the technique and so I chose my fabrics. One thing about me is I never do the easiest pattern first - always the hardest. I did watch one of her videos, too, just to be sure that I knew what I was doing.
Island Batik sent quite a few fabrics, but it is always hard to decide which group to jump in and use.  I figured since we have been in the winter of our discontent with 3 Nor'easters in March, I would do my Nor'easter quilt!   I would use Alpine Ice!  Here is one of the pictures that helped me figure out what I wanted to use.  The middle fabric with snowflakes was a little bluer/brighter than the others so I pulled it. out.  Funny that the background looks much whiter in that picture.

Linda's business card had the setting I used with a kind of gradation of color across it.  I loved the one on her business card but was afraid it would be too busy.  I made one section and loved it!  I tried to group the fabrics to make it work, but mostly, it think it helped the prints be in a little more control.  The other batiks I had were just not going to work, so I decided to go ahead.

It is a good idea to press seams open and use a stiletto.  I never liked pressing seams open, a hard habit to break.  I find myself doing it more and more.  The stiletto really helped control the curved piecing  and no pins were damaged in this exercise. 😉
 There was a lot of trimming.  Her technique has a good way of giving you plenty of help to get those curves nicely done.   Mostly what I liked is that it all really worked well - no puckering - no redoing of seams.  I pressed to the dark batiks and that allowed the pieces to nest well when I got to joining the blocks.  I highly recommend this ruler.  It is a simple easy solution to get some great curves in your blocks!
I chain piece when I can, because why not!

Here is the final quilt!
You can see the quilting on the back, pretty simple as it is a small piece.   I used Hobbs Thermore batting for this quilt (generously provided by them) and I loved the way it behaved.  It is thin but has a bit of loft.  Quite nice! Notice there are triangles I used for hanging smaller pieces.
In case you were wondering what a whole quilt might look like here's an example. I used a program called Layout on my Iphone to do this.   Note, there is a double row that acts differently and interrupts the interlocking circles,  but you get the idea.  If you want to see others, you can go to Linda's facebook page from here.

And a final look!

"The Winter Of My Discontent - 2018"  20.5" x 20.5"
Island Batik fabrics from the Alpine Lace Line
Hobbs Thermore Batting
Machine pieced and quilted


Sunday, May 28, 2017

Catching up and last week's finish

Little time to sew is making me a bit cranky - or could it be this endless wet, cold spring?  Either way here's a few things I have been up to!

I brought my M3 (Meadow Mist Mystery) Quilt to Burlington Electric Quilt Studio. I haven't had time to photograph the quilting so here is a reminder of what the quilt looks like.


And here is a video of it being quilted on a Gamill wth a Statler Sticher.


I finished this Sashiko pillow right before I went to Pennsylvania for my niece's graduation.  It was one of my UFO's for the APQ Resolution.   Its not fancy but, I love it. I learned how quick it was to do Shashiko and it will become a default take along project, when I want something compact. 


April and May UFOs (a little late on April)
Finished Shasiko Pillow!
Quilted and added binding to M3 quilt (binding will make it done for my list)

Ongoing
-bind and label M3 Quilt
-pick some colors for La Passacagalia (carry over from last week)
-begin animal alphabet quilt (ready to cut)
-label a few quilts (carry over from last week)


Wednesday, January 11, 2017

Percy Doodle, a finished mini quilt

Here's a little quilt I made last year.  I saw a call from Made by Marney for pictures of dogs.  I sent her one of mine and she turned him into a pattern.   Her version is in grey but it kept Percy's name.  I had fun gathering some fabrics from my stash and creating this likeness of our  wonderful dog.  This was not on my to do list, but I was so thrilled when she turned his picture into a pattern.  You can see her rendition and the picture I sent her here.  You may notice a watermark on the picture.  This is one of the things that slowed me up on my blog.   I decided I don't have to be consistent with it, but I will try to do this more often, and get better at it (I know the color is nearly impossible to see). 


There are two fun features on this quilt.  One is that I did a two fabric binding, from another blog that I follow sewfreshquilts.  It was easy and I love finish.  The back isn't quite perfect, but I'll get it there.

 And finally, there is this new label.  I saw ones that Yvonne @ Quilting Jetgirl ordered and I was hooked.  I had different labels before but never this many.  I ordered them from Kim @Tagtopia and they came promptly.  This is the first quilt I added them to and while I will do other labels by hand, I also love the idea of adding these.


Friday, January 8, 2016

Le Millefiori and English Paper Piecing

Truth be told, my exciting project for the year is not on the UFO list.  It is new (begun in November) and slow.  It is hand piecing and fussy cut and complex, so a lot of time is spent picking fabrics, cutting and prepping the pieces before I work.


It is based on the book Milliefiore Quilts by Willyne Hammerstein and is a gorgeous quilt.  The cover quilt is the one that I am working on.  There are Facebook groups and pinterest pictures of different versions of this quilt, which makes it even more fun.


I have completed one round and love the process.  I am still trying to figure out if I love the way that I am doing the English Paper Piecing.  I am using glue, which makes one part of the preparation just zip along.  I started using the 3/8" templates, but am using the templates with the 1/4" seam allowance as I find the 3/8" seam allowance too much for the smaller pieces.  I have gone through a variety of threads but am now using mettler embroidery weight thread with thread heaven for my piecing.  It nearly disappears and I have many fewer problems with it than with the others I tried (Bottom Line, Masterpiece and Aurifil).  Right now I am using a stitch called "the flat back stitch".  There are many explanations of the stitch, but you can see a video here at DIY addict.

I am now on my second rosette and enjoying the process a bit more.  I think I have gotten more comfortable with the pieces and the flat back stitch.  There are two Facebook groups for the Millefiori -La Passacaglia quilt and one for the New Hexagon Book-Millefiore group.  They are wonderful resources for learning more about the process.

I'll post on this as I complete rounds.  My plan is to make a smaller quilt and I think I have narrowed the size on the layout page.  I will soon figure out exactly the rounds I need to and make more plans for this fun quilt.  It's exciting to begin something like this and I am enjoying the planing process.  To say that I'm nervous about completing the edges would be an understatement, but I have plenty to do before I get there, so I am not focusing too much on that (ok, maybe that's a lie).