
*Indicate affiliate links which support my blog.


I was thrilled to join in on the Wish Upon A Star Blog Hop, sponsored by Carol of Just Let Me Quilt. The rules are simple enough: Your project must have a star somewhere on it. Mine does, and because of indecision it is not a finished quilt but I do have a plan for it.
Happily I am in! I will be sharing with you my "Sun Star" that I made in a Paula Nadelstern class. Paula's last name means Needle-Star and in fact, this is very much what this star is.
Happily I am in! I will be sharing with you my "Sun Star" that I made in a Paula Nadelstern class. Paula's last name means Needle-Star and in fact, this is very much what this star is.

In Paula's class, she begins by walking you through drafting a star. I love drafting and don't do nearly enough of it. The exercise in understanding how to make your piece is important. This drawing is part of the piece we used in class that day.
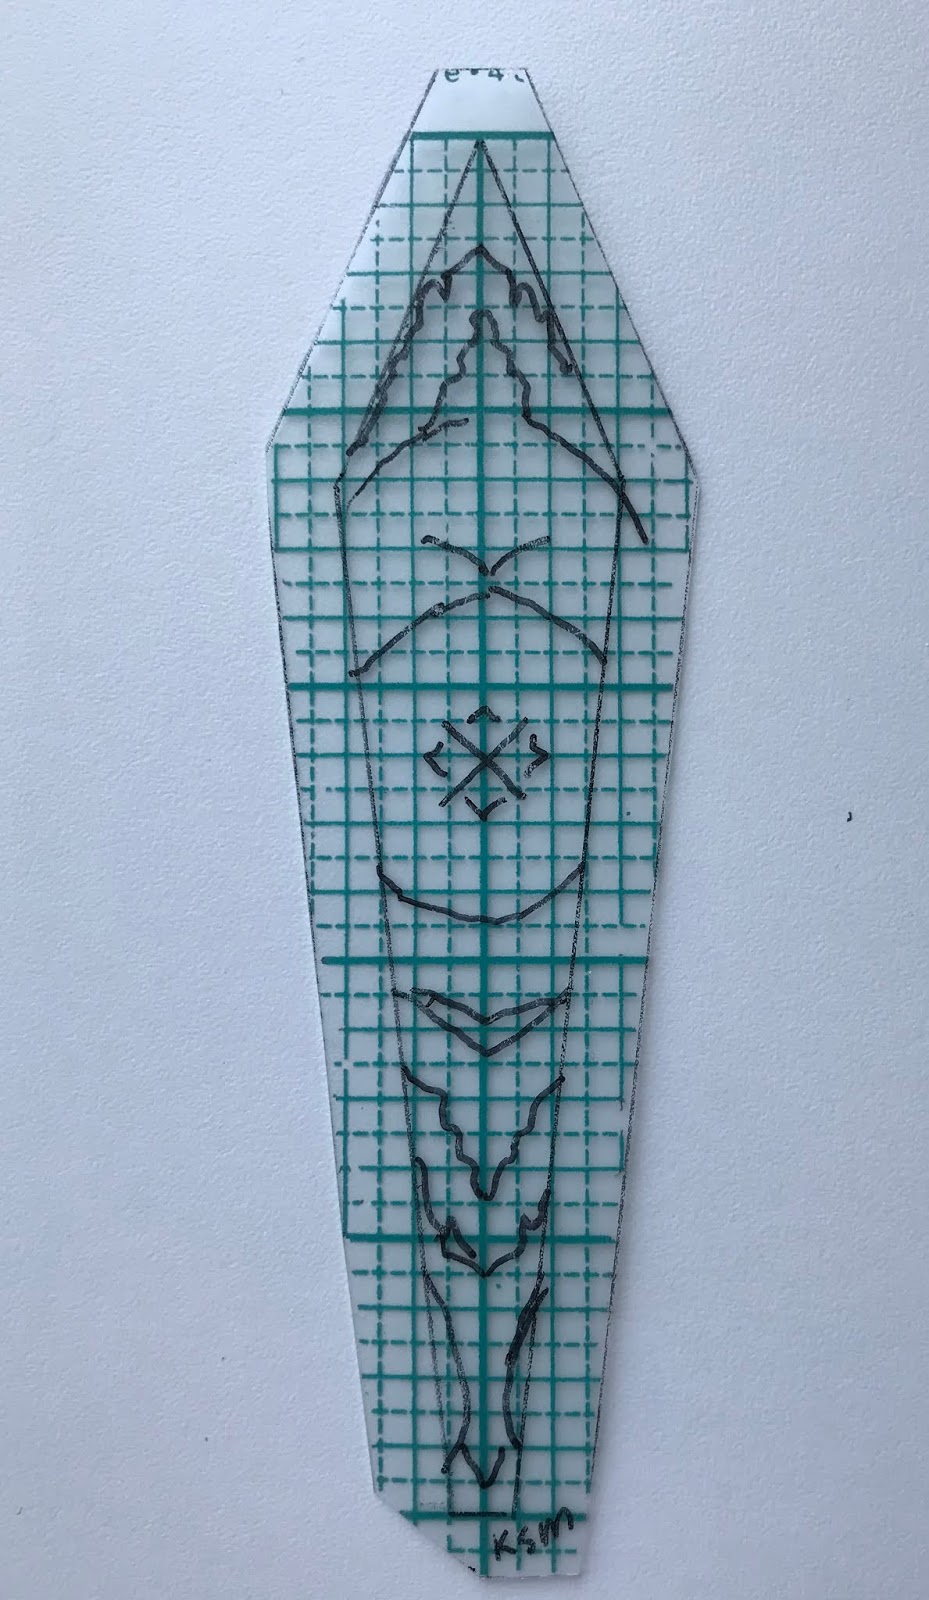
 The beauty of this 2 day workshop was learning how to do it, not just making a block. We would be working with drawing some pieces and understanding the tools she has used over the years. There is the ruler, small and thin, with one edge a little higher. Use the lower edge for more precision (WOW! a revelation). Both her Visigrid* template plastic and the graph paper use 8x8 engineering grid. It makes it really easy to be precise. Paula also likes certain pens for marking the template plastic - Faber Castell Multimark 1525 permanent*. This pen is erasable, very helpful as you trace the elements you want to repeat on your fabric. The silver pen, Uniball*, for marking the fabric works on most colors and is very easy to use. You cut on this line, so you really don't need to worry. Paula has used them forever and highly recommends them.
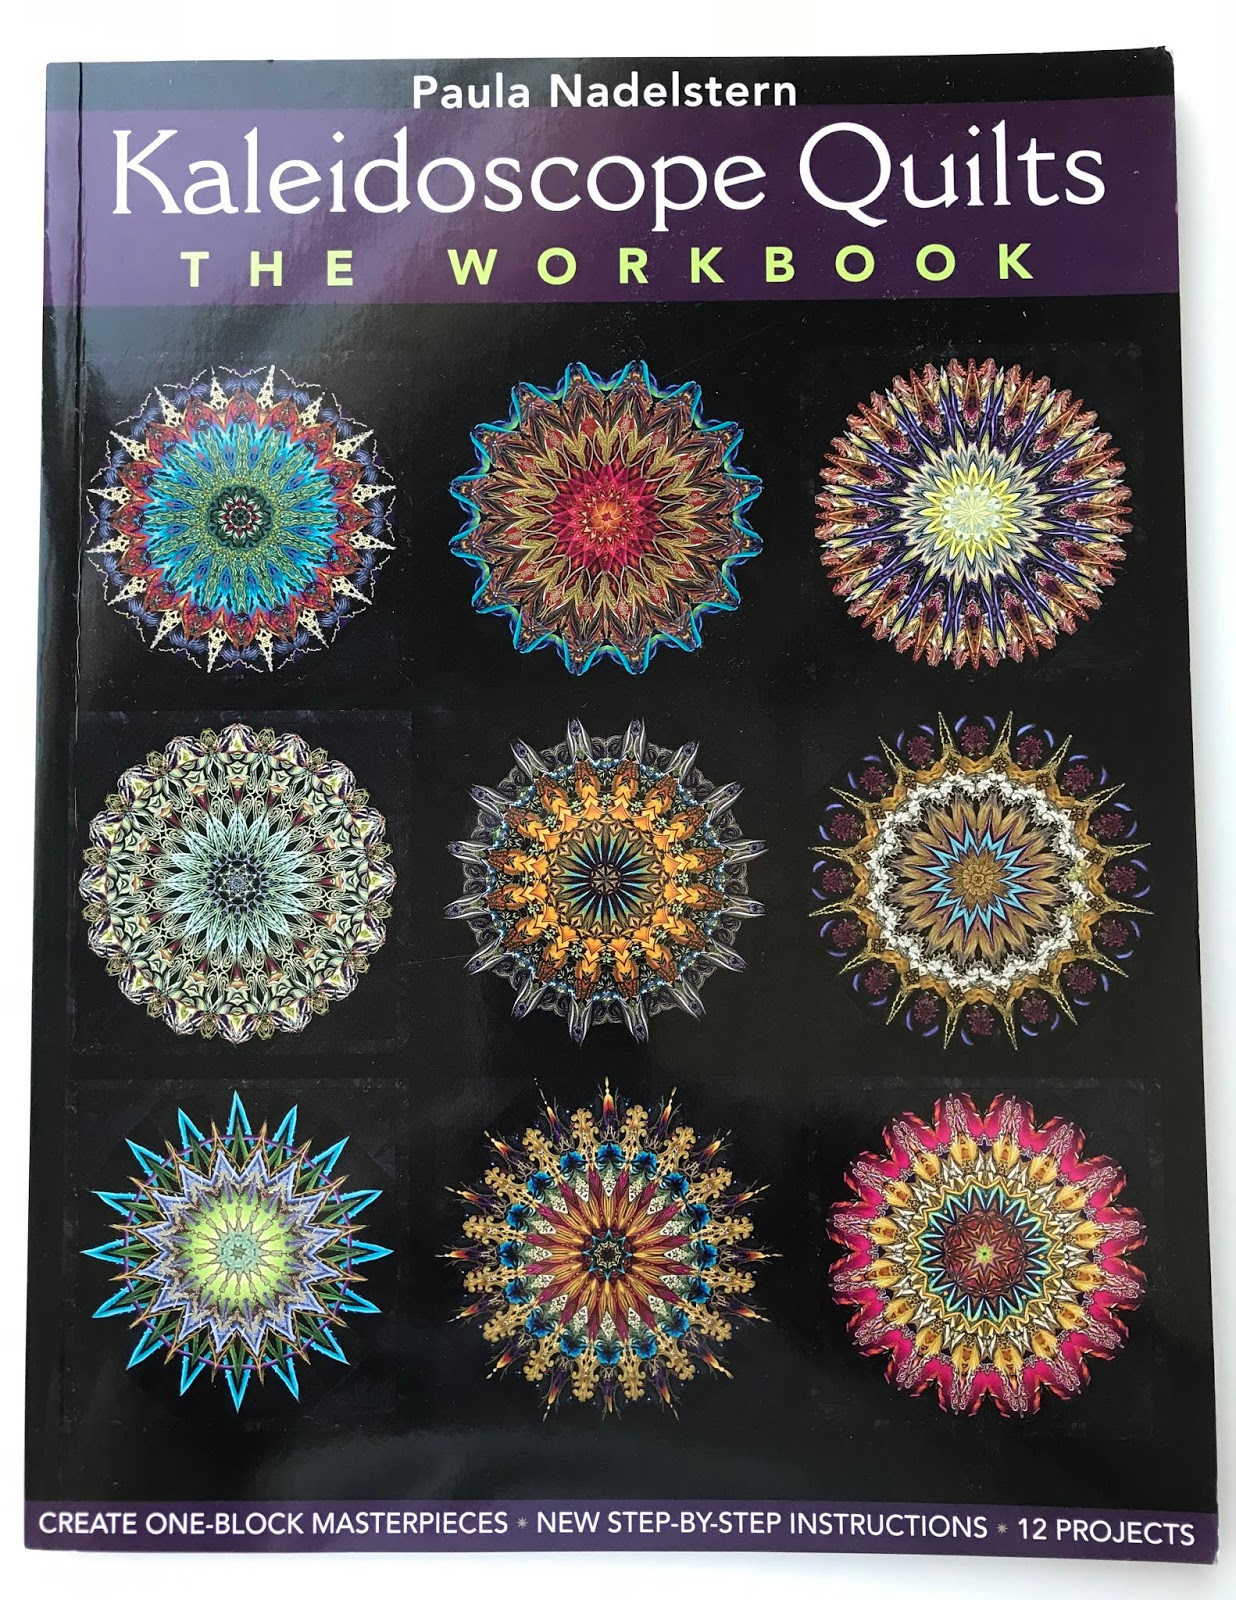
 There is no way to explain all that we did, but here is a link* to her book, where you can learn it all! This one really walks you through the drafting and is a terrific reference.

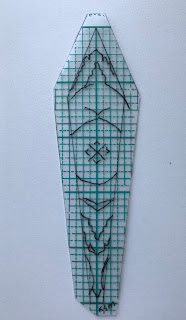 Here's how the magic happens. You make this template and mark registration "lines" on it in order to precisely cut out your fabric. Assembly is honestly pretty easy if you have been at this for awhile. The fabric must be bilaterally symmetrical in order to make this work.


We had to select the background piece that would make the star sparkle. Above you see a few tests of fabric.


Don't forget to visit some of the other "Star Bloggers". Everyone's interpretation is different - some are quilts, some are blocks - but they are all unique. And, there is a giveaway.
Happy piecing,


And here's a surprise...my friend and I used the same fabric. The design looks different because of where we fussy cut our fabric. It then causes one to choose different backgrounds. Pretty amazing.
My plan is to make another.... and have a small wall hanging with two of them. Maybe I should steal my friend's block. There are also ways of doing it with fewer pieces (I believe these above square from one of Paula's quilts is 4 pieces).
May 21
May 22
May 23 - Today
May 24
May 25
Kathleen McMusing <---you are here
Happy piecing,